
 Oct 16,2026
 By:
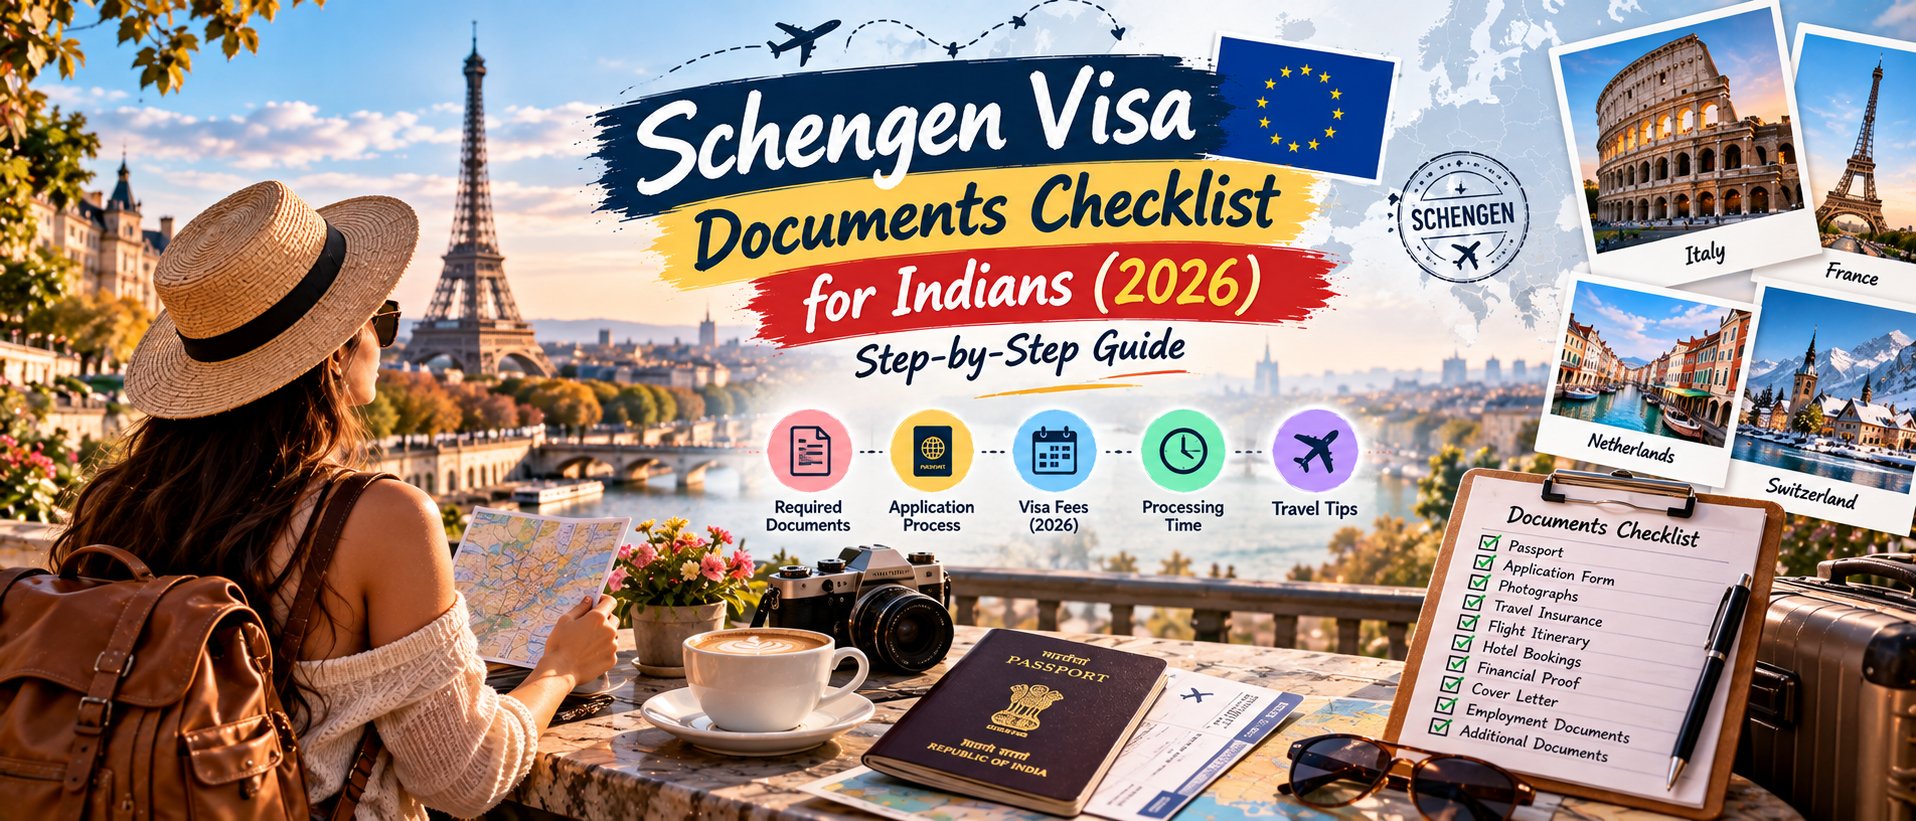
By: This guide walks you through the documents you’ll need, how the process works step by step, and the mistakes that cause most refusals. Grab a cup of tea, because it’s a long list, but it’s a lot easier when you can tick things off one by one.
Schengen Visa Quick Facts
Check each of these with the embassy or visa centre you’ll use, because details change.- What it is: a short-stay (Type C) visa that lets you stay up to 90 days in any 180-day period
- Where to apply at the embassy or consulate of the country where you’ll spend the most nights. If your nights are split equally, apply to the country you’ll enter first
- When to apply no earlier than 6 months before your trip, and ideally 4 to 8 weeks before, because appointment slots fill up fast in peak season
- Fee: €90 for adults and €45 for children aged 6 to 12, plus the visa centre’s service fee
- Processing time: usually up to 15 calendar days, but it can take longer in busy periods
Core Documents Everyone Needs
- Passport. It should be valid for at least three months after you plan to leave the Schengen area, have been issued within the last 10 years, and have at least two blank pages. Bring copies of old passports that contain previous visas.
- Visa application form. Fill it in carefully, sign it, and make sure every detail matches your other documents.
- Photographs. Recent passport-size photos that meet Schengen specifications, usually 35 x 45 mm on a light background. Many visa centres have a photo booth if yours gets rejected.
- Travel medical insurance. At least €30,000 of cover, valid in all Schengen countries for your entire stay, including emergency medical care and repatriation. Keep the policy certificate handy.
- Flight reservation. A round-trip booking or reservation showing your entry and exit dates. Don’t buy a non-refundable ticket before the visa is approved.
- Accommodation proof. Hotel bookings that cover your whole stay (choose free cancellation), or an invitation letter and your host’s documents if you’re staying with friends or family.
- Day-by-day itinerary and cover letter. A short, honest letter explaining the purpose of your trip, cities, dates and who’s paying. It should match your bookings exactly.
- Proof of funds. Bank statements for the last 6 months showing regular income and enough money for your trip. Each country has its own guideline for daily expenses, so check the one you’re applying to.
- Income tax returns. The last 2 to 3 years, with acknowledgement.
- Appointment confirmation and fee receipt.
Extra Documents By Applicant Type
If you’re salaried
An employer letter or NOC with your designation, salary and approved leave dates, plus the last 3 to 6 months of payslips and Form 16.If you’re self-employed or a business owner
Business registration, GST registration, company bank statements, your ITR with computation of income, and a letter on your company letterhead.If you’re a student
A Bonafide certificate or NOC from your college, your student ID, and your parents’ bank statements and ITR if they’re sponsoring the trip, along with a sponsorship letter.If you’re retired
Pension statements and bank statements.If you’re a homemaker or someone else is paying
Your sponsor’s bank statements and ITR, a sponsorship letter or affidavit, and proof of your relationship such as a marriage certificate or birth certificate.If you’re travelling with children
Birth certificates, both parents’ passport copies, and a consent letter if only one parent is travelling.How to apply: step by step
- Choose the country to apply to. Use the most-nights rule above.
- Sketch your itinerary and make refundable bookings. Flights and hotels should be reservations you can cancel.
- Book your appointment early. Most countries use an outsourced centre such as VFS Global, BLS or TLS contact. Check which one handles your country.
- Gather your documents. Use the lists above, arrange them in order, and keep photocopies.
- Buy your travel insurance. Make sure the dates match your itinerary exactly.
- Fill in the form and pay the fee. Keep the receipt.
- Attend your appointment. You’ll submit your documents and give fingerprints if you haven’t done so recently.
- Track your application. Your passport will be returned by courier or ready for pickup.
- Check your visa as soon as you get it. Look at the dates, number of entries and spelling of your name before you book anything non-refundable.
The most common reasons for refusal
- Not enough funds, or a sudden large deposit just before applying that the bank statements can’t explain
- An itinerary that doesn’t match your bookings or your leave dates
- An unclear purpose of travel
- Doubts that you’ll return home, for example weak ties to your job, family or property
- Travel insurance that doesn’t cover the full stay
- Missing, outdated or inconsistent documents
- Applying at the wrong country’s embassy
- A previous overstay or visa problem
- Fake or altered documents, which can lead to long-term bans
Tips that really help
- Apply when your bank balance looks normal. A regular salary trail is more convincing than a last-minute lump sum.
- Keep everything consistent. Use the same name spelling, address and dates on every document.
- Write a short, specific cover letter. Officers read a lot of applications, so clarity helps.
- Show your ties to India clearly: a job, business, studies, family, property.
- If you’ve held Schengen visas before, ask whether you qualify for a longer multiple-entry visa. Rules for Indian applicants have been changing recently.
- Expect biometric checks on arrival. The EU’s Entry/Exit System registers fingerprints and a photo of non-EU travellers at the border, so allow a bit more time at immigration.
What to do if your visa is refused
Don’t panic. You’ll receive a refusal letter with the reasons ticked off. Read it carefully, because it tells you exactly what to fix. Depending on the country, you can appeal within a limited time or reapply with stronger documents. Don’t reapply immediately with the same file. Past refusals are recorded and may be asked about in future applications, so always answer honestly.Final checklist before you submit
- Passport and old visa copies ready
- Signed application form and photos
- Insurance certificate
- Flight and hotel reservations
- Itinerary and cover letter
- 6 months of bank statements and 2 to 3 years of ITR
- Employer, business or student documents
- Sponsor documents, if someone else is paying
- Fee receipt and appointment confirmation
- A second set of photocopies
This article is general information, not legal or immigration advice. Always confirm requirements, fees and processing times on the official embassy or visa centre website before you apply.
